SonicWall's Application Control block some required Application for WeChat Application.
So that Mobile Device users using WeChat will not be able to Sign Up in you network and they will get "Connection error. Check your network settings."


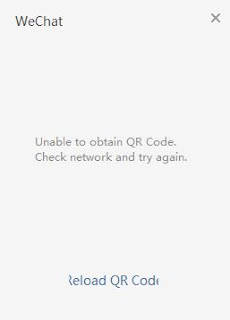
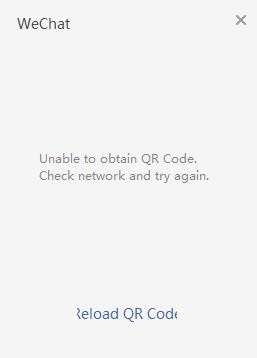
For those who already has account also will not able to sign in by using QR code.
Laptop/Desktop WeChat user also will encounter the error as below.

To solve these issue, you need to Unblock/Allow the Applications from below Application Signature List in your SonicWall.
Application Category : Proxy-Access (27)
Application : Proxy-Access HTTP (966)
Application Signature : Proxy-Access HTTP Proxy -- HTTP Proxy POST (9685)
You still need to Allow/Exclude below IP Address lists from Application Control List of your SonicWall.(In fact, WeChat used many IP Addresses and need to check logs and add some more if your issue not resolve yet by adding below list.)
203.205.129.101
203.205.147.168
203.205.151.160
140.206.160.213
Once you done above steps, your users shouldn't be any issue when they using WeChat either on their Mobile Devices or Laptop/Desktop within your network.
(For me I really do not want to allow for this application as it is not secure but have to allow because of business need. So I have to monitor closely on usage of this application.)
Have a good time.
(Be knowledgeable, pass it on then)
So that Mobile Device users using WeChat will not be able to Sign Up in you network and they will get "Connection error. Check your network settings."


For those who already has account also will not able to sign in by using QR code.
Laptop/Desktop WeChat user also will encounter the error as below.

To solve these issue, you need to Unblock/Allow the Applications from below Application Signature List in your SonicWall.
Application Category : Proxy-Access (27)
Application : Proxy-Access HTTP (966)
Application Signature : Proxy-Access HTTP Proxy -- HTTP Proxy POST (9685)
You still need to Allow/Exclude below IP Address lists from Application Control List of your SonicWall.(In fact, WeChat used many IP Addresses and need to check logs and add some more if your issue not resolve yet by adding below list.)
203.205.129.101
203.205.147.168
203.205.151.160
140.206.160.213
Once you done above steps, your users shouldn't be any issue when they using WeChat either on their Mobile Devices or Laptop/Desktop within your network.
(For me I really do not want to allow for this application as it is not secure but have to allow because of business need. So I have to monitor closely on usage of this application.)
Have a good time.
(Be knowledgeable, pass it on then)

help
ReplyDeleteI have been searching for such an informative post for many days and it seems my search just ended here. good work. keep posting. If you want to get Information about Online Payment In China visit our website.
ReplyDelete